All guide pages
Welcome to DesignerXStudio launcher & favouritesSaving & My DesignsTemplatesExporting & printingShortcuts & everyday toolsDesignChiselLithophaneKeychainClickerMesh BoxBeadsMore tools & pagesTroubleshooting & FAQ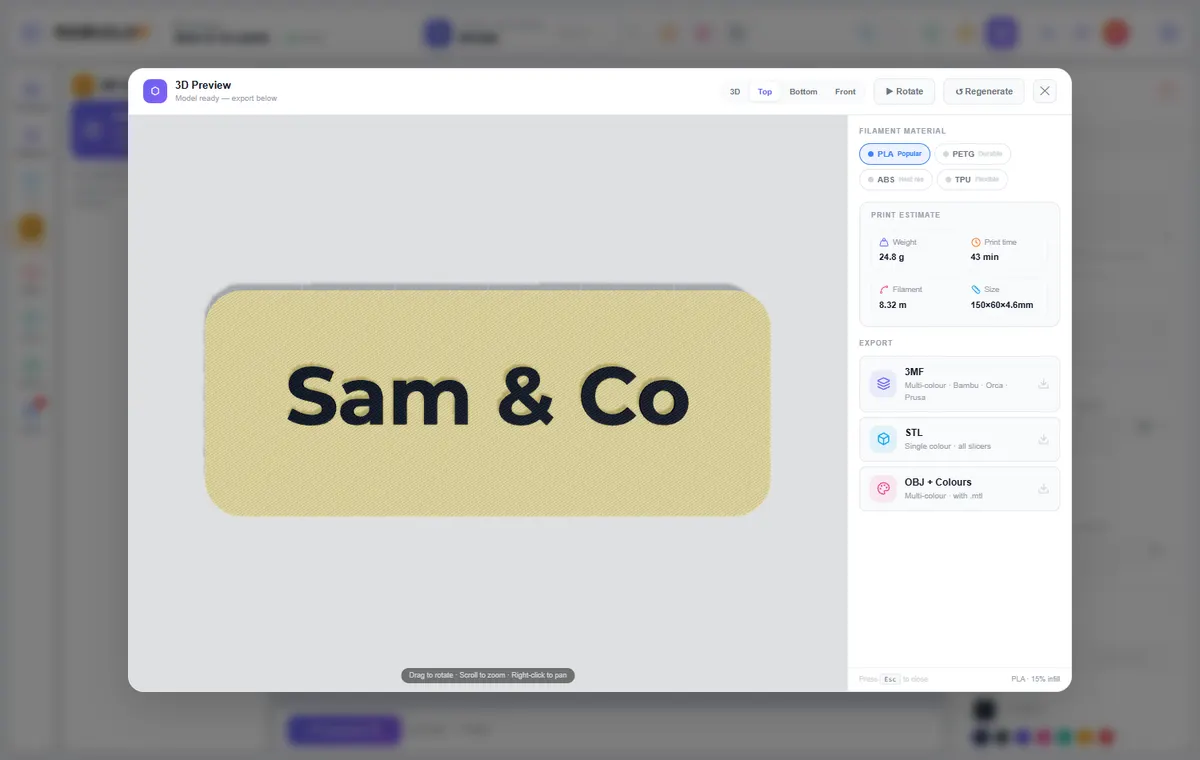
How to use it
- Check the 3D preview — drag to rotate, scroll to zoom, right-drag to pan. Your angle is kept when you change a setting.
- Choose a format: 3MF (recommended — keeps colours and exact size), STL (one colour, any slicer) or OBJ + colours (nameplates).
- Open the file in your slicer. Multi-part studios export a part per colour, laid out ready to print.
What you can do
Print layout
Studios with several pieces (Clicker and Mesh Box) have a Print layout or All pieces view that lays each part flat on the bed.
Estimates
The nameplate preview shows weight, filament length, size and time for PLA, PETG, ABS or TPU.
Credits
Some studios may use credits for downloads. If so, you are asked before the file is made and your balance is shown.
Fits your bed
Large pictures can be bigger than your bed — the studio warns you when a part is more than about 250 mm.
Tips
Print thin or translucent parts with 100% walls, and use dark filament wherever light must be blocked.
Use a 0.4 mm nozzle and 0.12–0.2 mm layers for most things; use finer layers for small lettering.
Try it yourself
DesignerX is free to use in your browser. Create a free account to save your designs.